Thank you for your investment!
How The DFY Blogs Work
Each of the Done-For-You (DFY) blogs contains a paid theme and a paid plugin (WP Automatic) that runs the blog on autopilot. You can change the settings and select your favorite source of YouTube videos. In fact, you can make different changes to the automatic posting as you wish, including adjusting the frequency of posts!
Step 1
Import the DFY blog file into your current WordPress installation. If you don’t have it yet, install the All-in-One WP Migration plugin. Follow the instructions provided by the plugin, and remember to update your permalinks.
Login information for your DFY blog:
login user: admin
login password: dBRsQOS4jrnYpl3DahW7c0gZU
Step 2
Enter your YouTube API key:
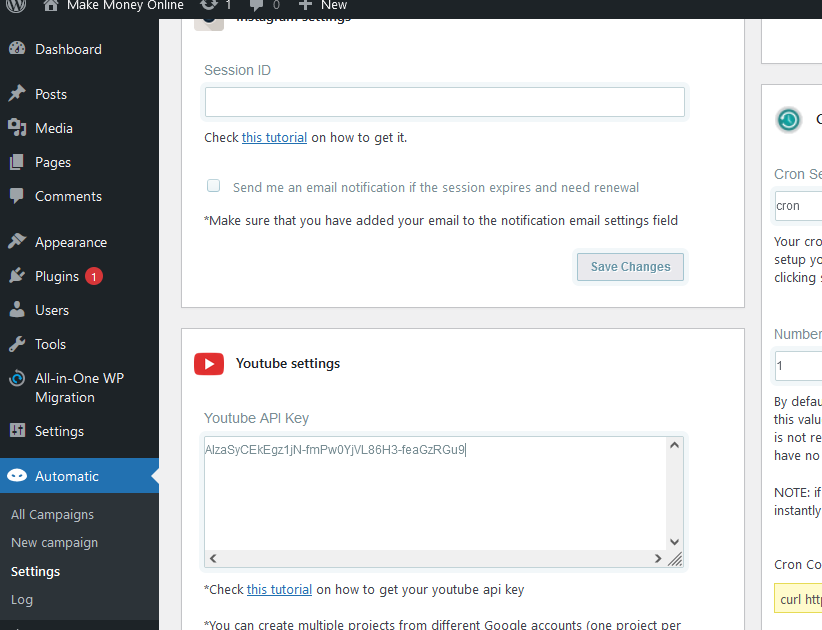
Here’s a tutorial on how to do that. Don’t forget to click “Save Changes“.
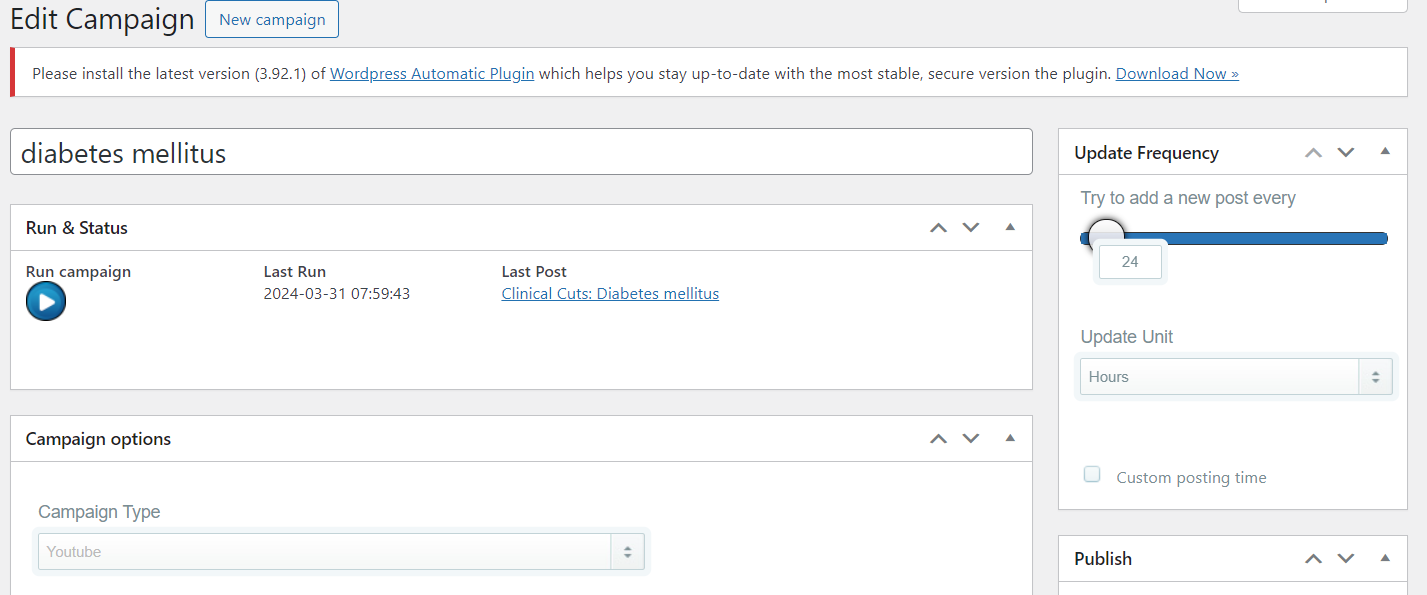
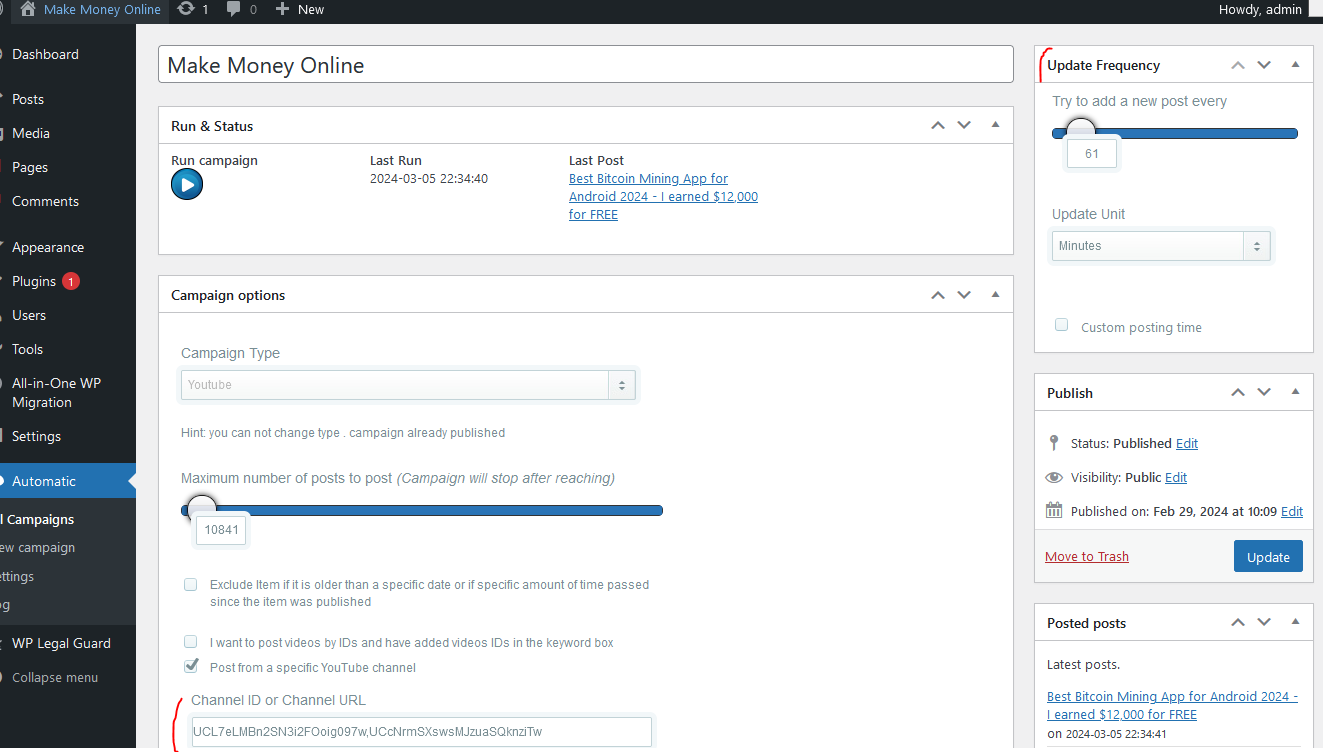
Step 3
Unleash your inner mad scientist! Customize campaigns and settings – because why settle for vanilla when you can have sprinkles? 😎 You can tweak the frequency of posting, the channel ID (like a secret agent code), and even add a dash of extra magic. Please note your campaign may look different – depending on the DFY blog you bought.
That’s it!
Step 4
If you’re familiar with WordPress, you already know that you can add your ads to your sidebar if you wish. Additionally, there’s a special place in this theme where you can add your ad – it’s in the header ad settings. In this case, I used Google AdSense code.
Also, change the menus to your liking. Promote your own (affiliate) products, services, etc.
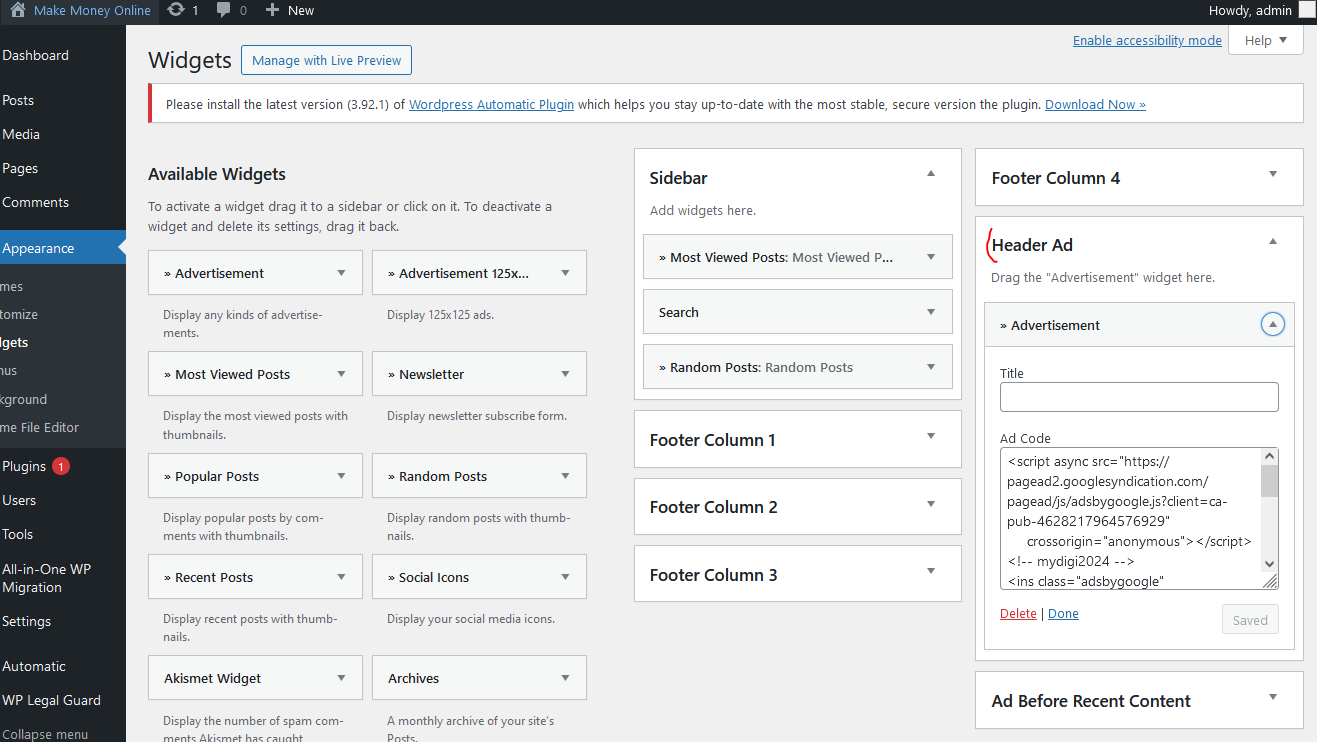
But you’re free to add the ads wherever you want – in the sidebar or even within the posts if you use the ‘Insert Ads On Post’ plugin. There’s no need to update the WP Automatic plugin; it works and has been tested on numerous WP blogs of my own. If you need more information or tips on the favorite tools and resources I use, please check them out here!
Feel free to email me if you have any other questions.
Thanks again, and here’s to your success! 🌟