If you’re a blogger or marketer who uses social media to generate traffic, you’ll be aware of how time-consuming the process can be. Not only do you need to create content consistently, but you’ll also need to design attractive images to get attention on these ‘noisy’ platforms.
In this tutorial, you’ll discover a highly useful hack that you can employ to bulk create images for your web properties quickly and easily.
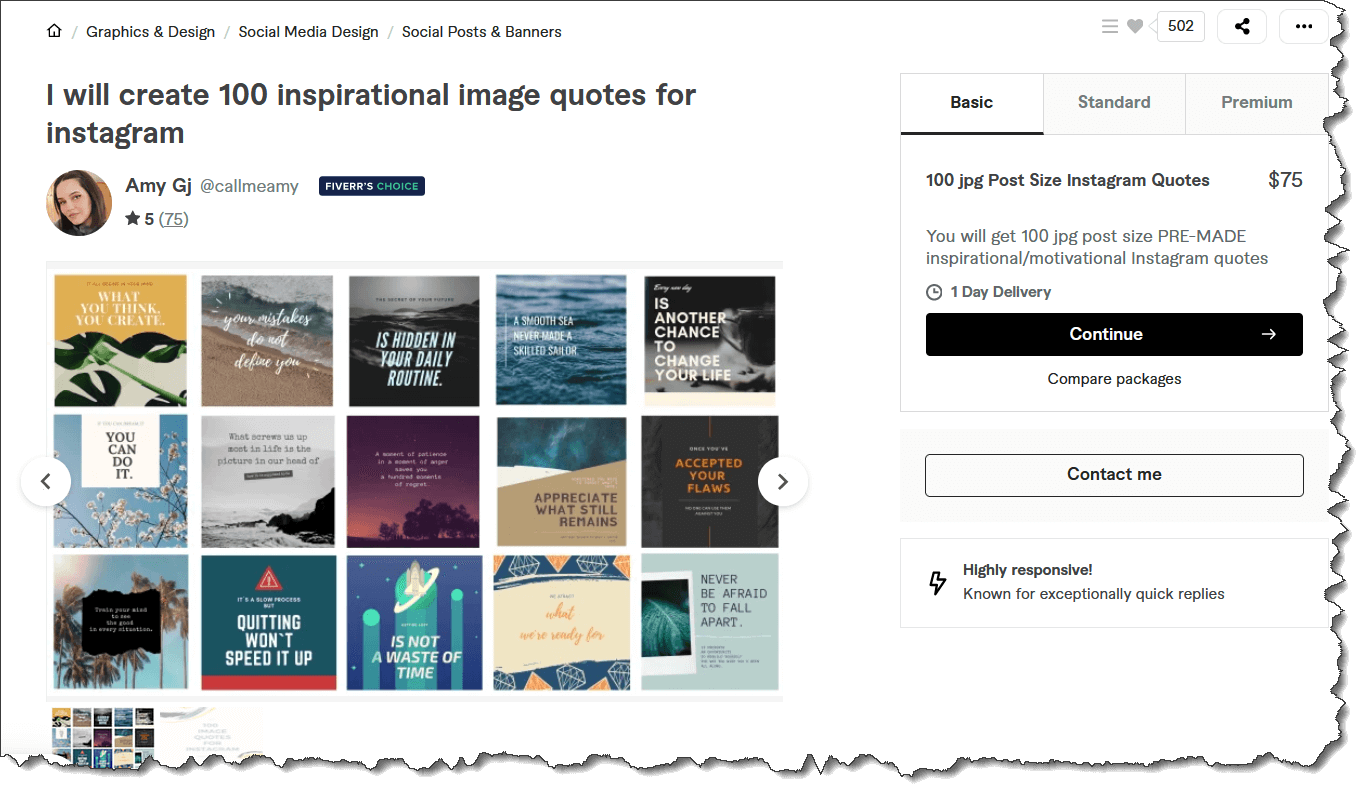
In fact, you could even set up a gig on a freelancer site such as Fiverr and offer this as a service… like what the seller in the image below is doing – and make money with it.
While a lot of tutorials on this topic will tell you to use a spreadsheet such as Excel or Google Sheet, we’re going to skip that step and keep things VERY simple.
Let’s begin!
This is what you’ll need:
- ChatGPT (free version) – https://chat.openai.com/
- Canva (Pro version) – https://www.canva.com/
- Notepad
Step 1: Generating the content
In this example, we’ll go with motivational quotes. But the same method applies whether you’re generating fitness tips, marketing pointers, nuggets of wisdom (for your niche) and so on.
This is the prompt we’ll use, “Give me a list of 10 popular quotes on self-discipline. Numbered format not required. Just the list.”

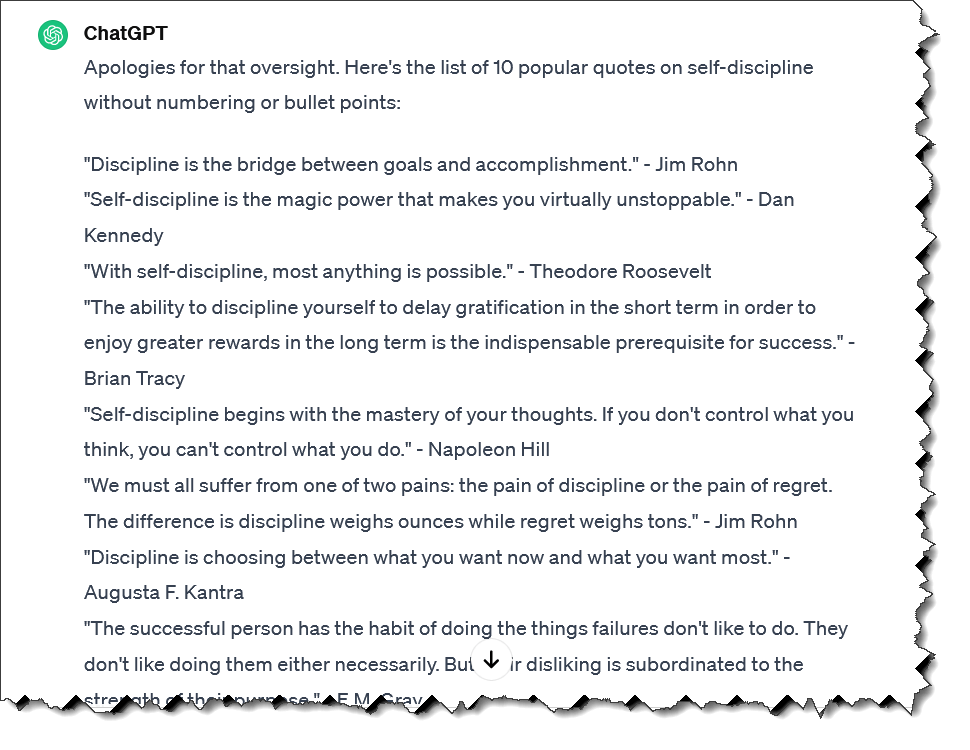
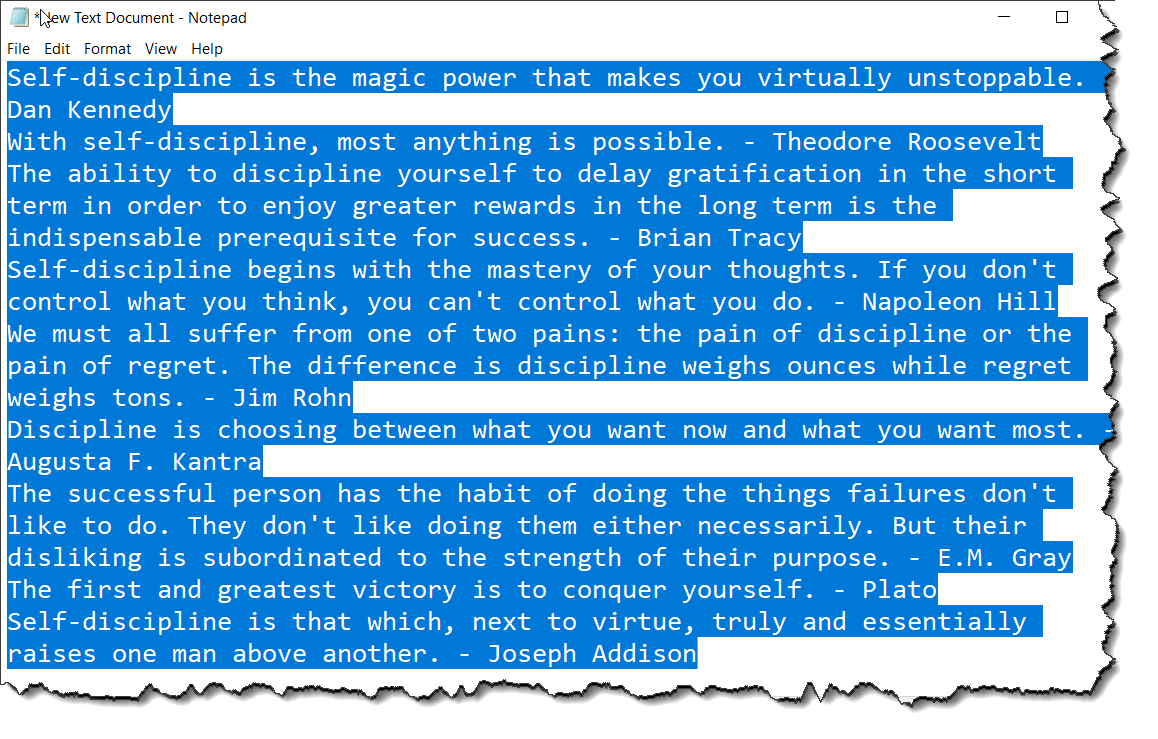
We’ll then copy all 10 quotes and paste them in notepad. Remove any unnecessary spacings, quotes, formatting, etc.
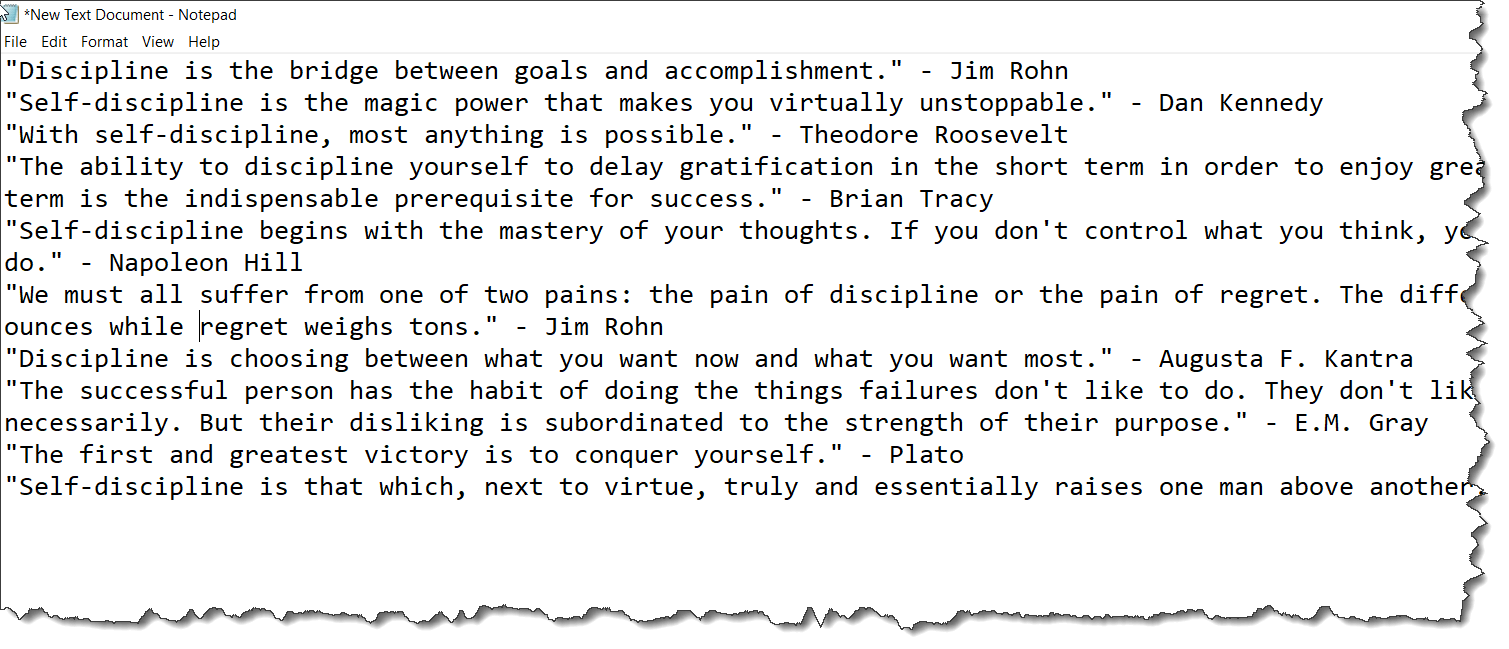
Step 2: Log into Canva
Click here to open Canva. You’ll need to have the Pro version if you wish to use the bulk create feature.
Now, we’ll click on the Instagram post (Square) template. This measures 1080 by 1080 px.
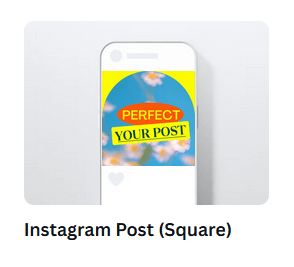
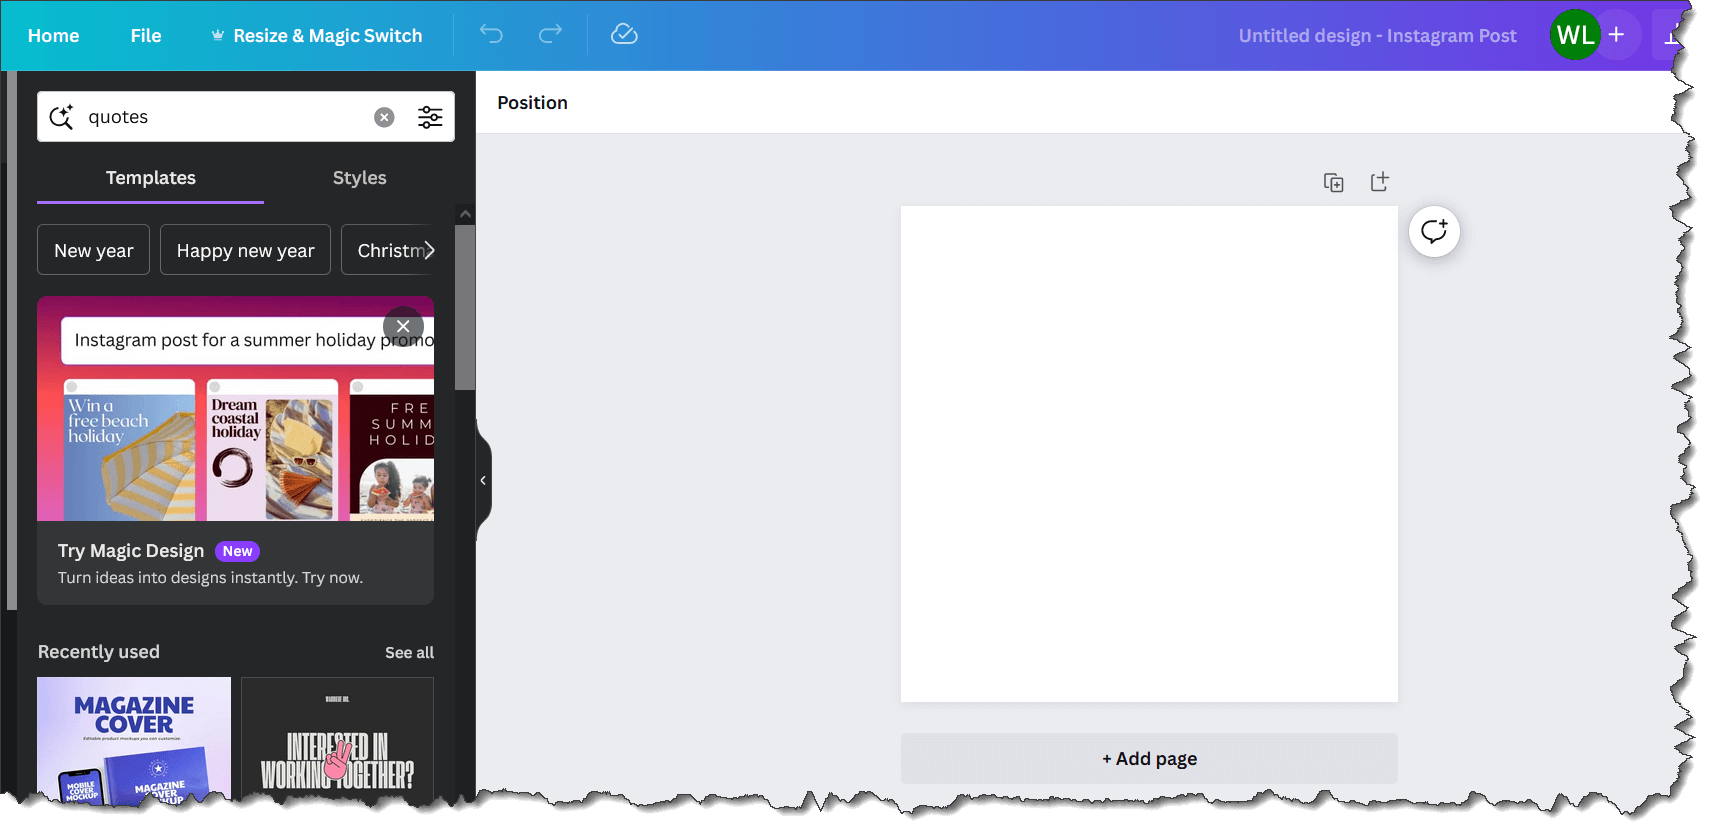
Click on it and open the design page.
Search for ‘quotes’ to find templates you can use.
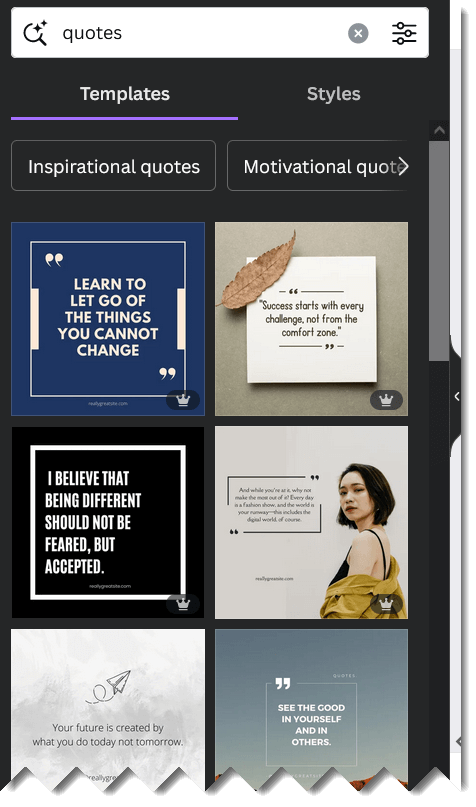
Choose a template you like.
Step 3: Bulk creating the quotes in Canva
This is the fun part!
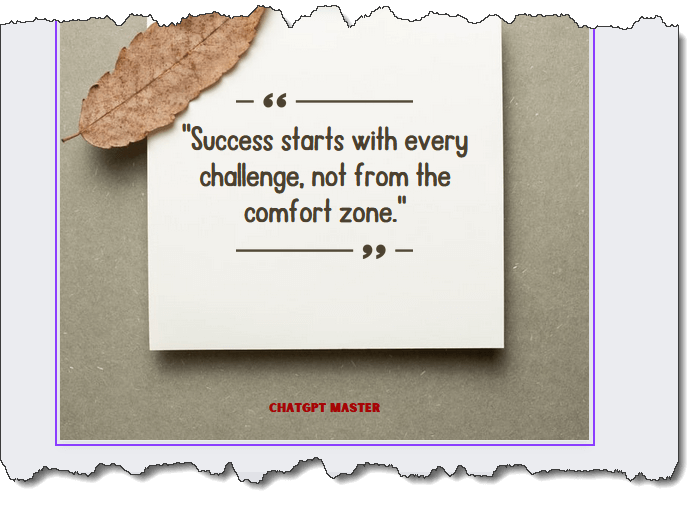
Once you’ve chosen your template, you can edit it a little by adding your website URL or your name… or brand.
We make edits on the first page so that they repeat on every page when we use the bulk create feature. This is useful for branding or watermarking your creations.
Let’s assume our brand was ‘ChatGPT Master.’ We shall add that to the bottom of the quote image.
The next step will be to look for the ‘Bulk create’ feature in the left sidebar.
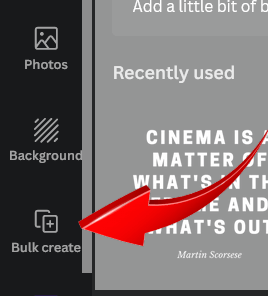
Click on it… and you’ll see this…
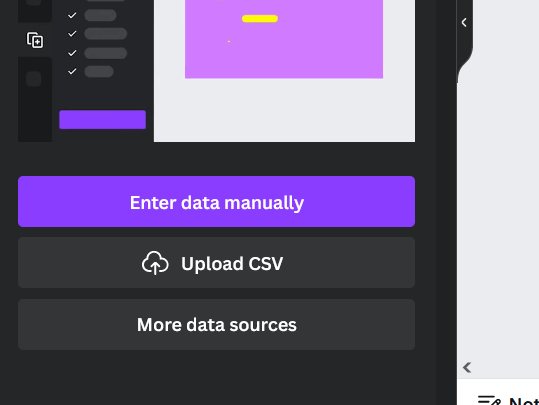
Click on ‘Enter data manually’ and you’ll see this…
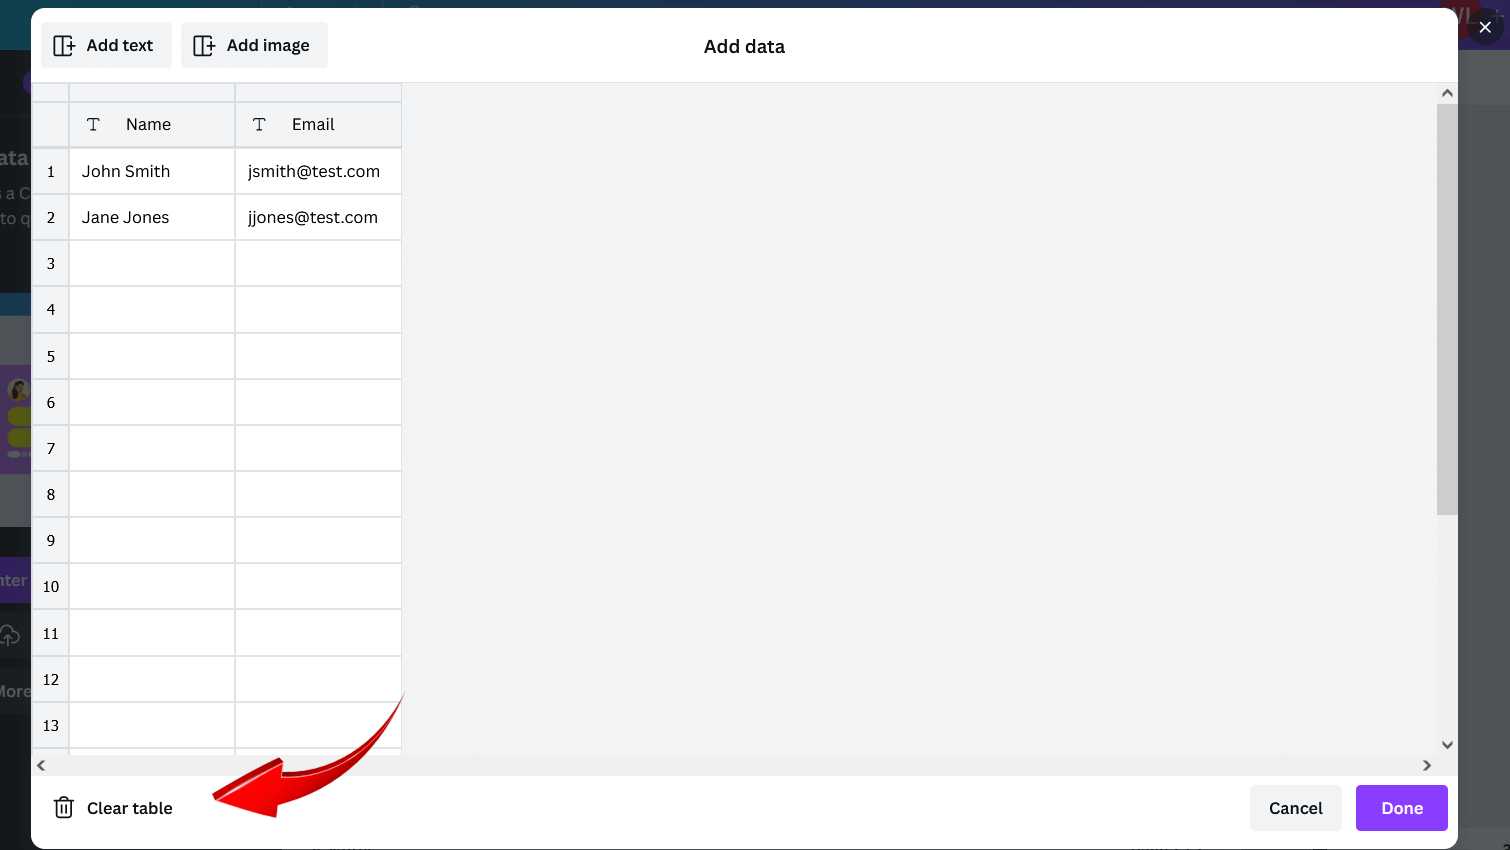
Click on ‘Clear table’ on the lower left corner.
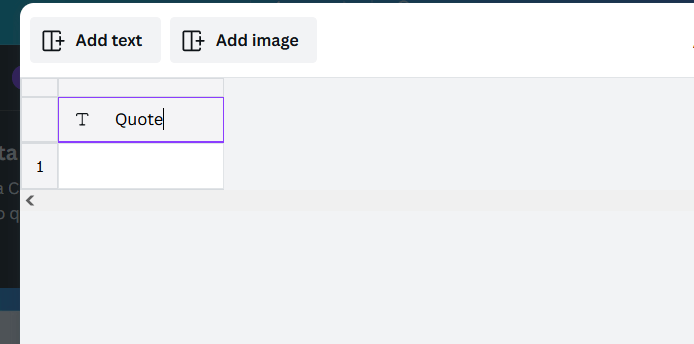
Now click on the box with the ‘T’ in it and type ‘Quote’ … We’re naming the table now so that we can connect it later.
Open your notepad with all the quotes and copy all of it (Ctrl + A followed by Ctrl + C)
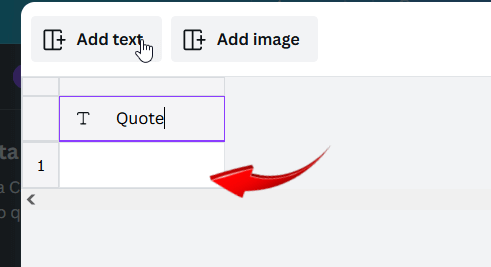
Now click on the ‘1’ field and paste all of it (Ctrl +V)
This is what you should see…
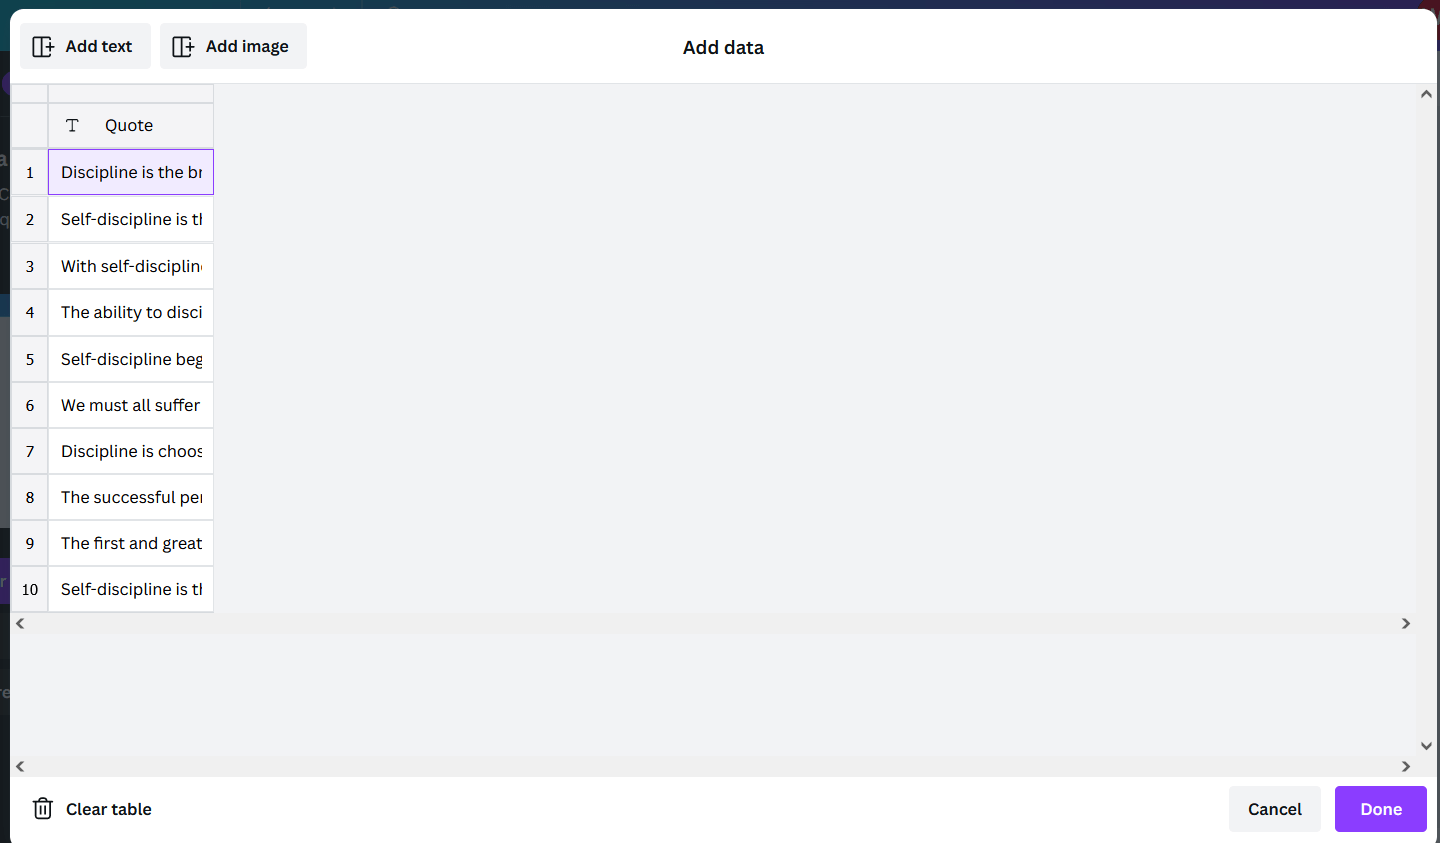
Click on ‘Done’
We’re almost there!
Now right click on the quote and you’ll see this…
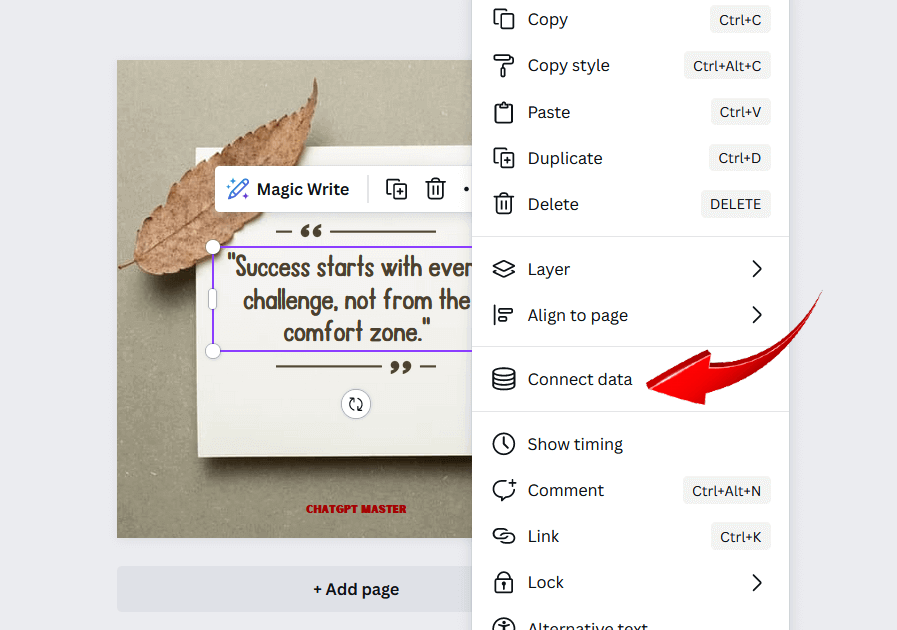
Click on ‘Connect data’…
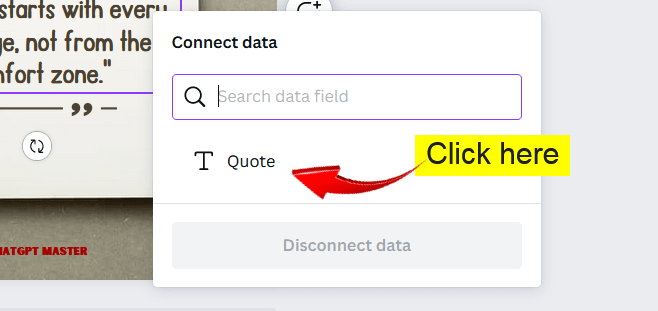
Then click on ‘Quote’ – which is the name we gave our table earlier.
Now Canva will associate the quotes in the table with the quote in the template.
You’ll now see this…
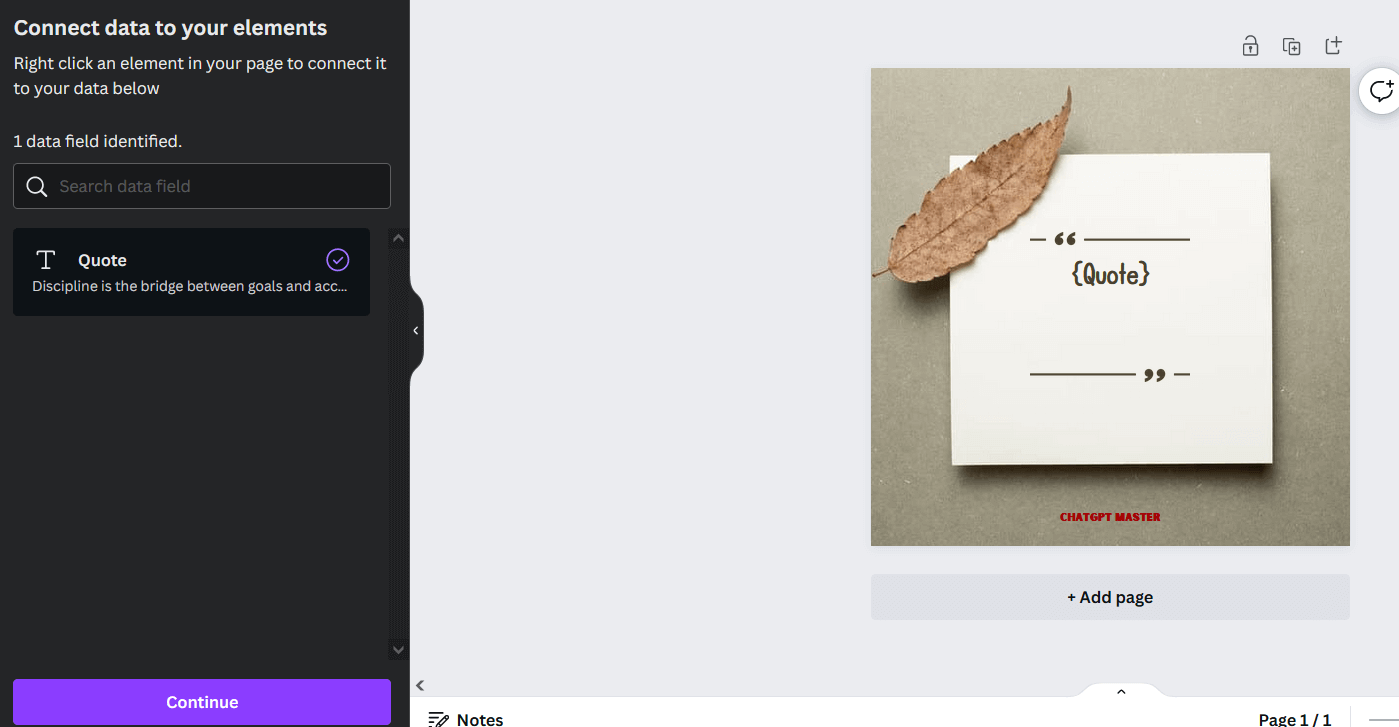
Click on ‘Continue’
This will show up… and you’ll need to click on ‘Generate 10 designs’
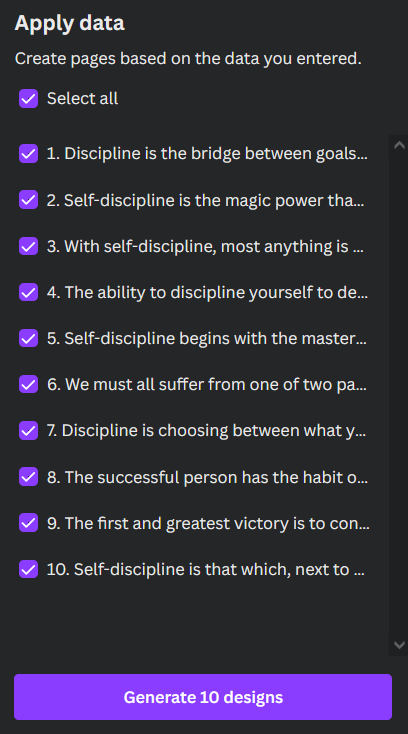
Since we used 10 quotes, it says 10 designs. If you had 50 quotes, it’d say 50 designs.
Within seconds, Canva will generate 10 quote images for you…
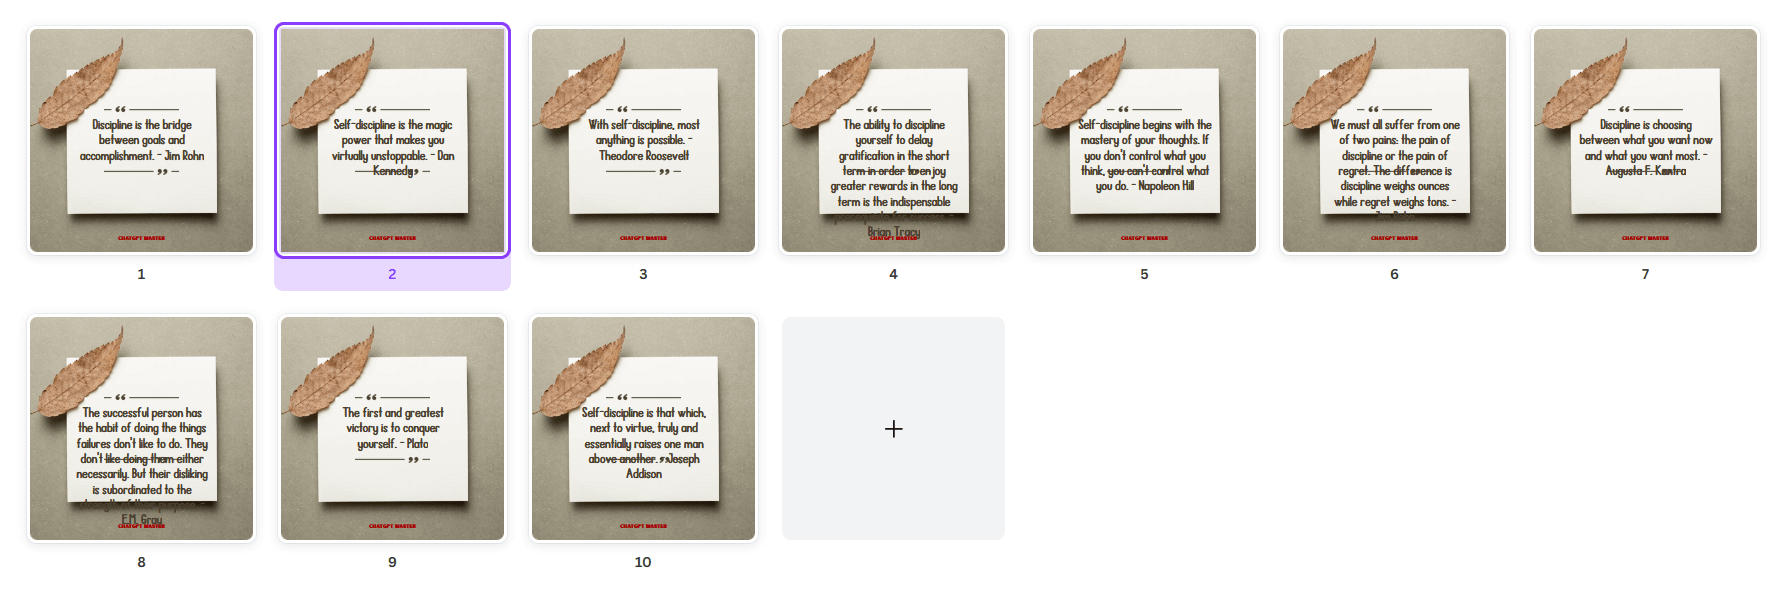
From here, you can manually change the background image and tweak the elements a little to make them look good… and you could even transform the images to look totally different from each other with just a few clicks.
Since the images were bulk created, editing them will be much easier and faster.
In less than 3 minutes, you could have images like these…

That’s how easy it is. It helps to familiarize yourself with the Canva interface so that you can edit your photos proficiently.
Follow these steps and you’ll be creating awesome social media images, blog post graphics, quote posters and more in no time at all!
Side note:
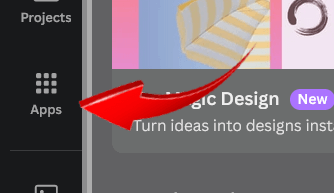
If your sidebar does not display the ‘Bulk create’ feature, here’s what you do…
- Click on the Apps tab
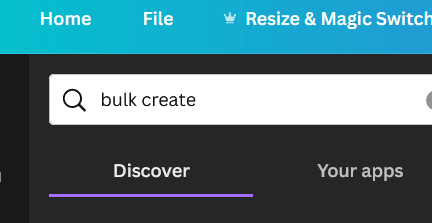
- Search for ‘bulk create’
- Hit enter and click on this icon
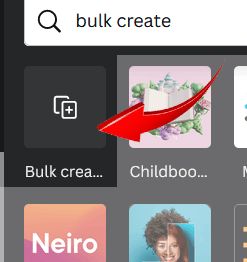
And you’ll see the bulk create feature in your sidebar.


